
FTP Setup
FTP/Setup Small FTPD
How to Setup FTP to Record Snapshots and Sub-Stream
1. Download SmallFTPD from the following link: /http://sourceforge.net/projects/smallftpd
2. In the root of one of your hard drives, create a folder titled, "FTP"
3. Locate the file you downloaded and extract the contents of the zipped file to the FTP folder you just created in the root of your hard drive.
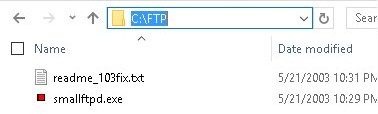
Your computer should look similar to the image above.
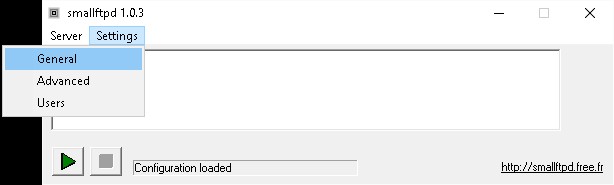
4. Double click, "smallftpd.exe"

5. Click, "Settings" and then, "General"
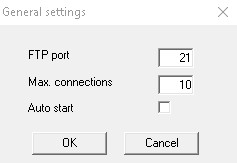
6. Note the port, and click, "OK"
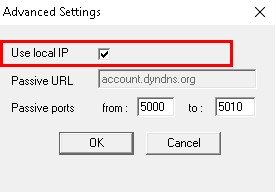
7. Click, "Settings" and then, "Advanced"
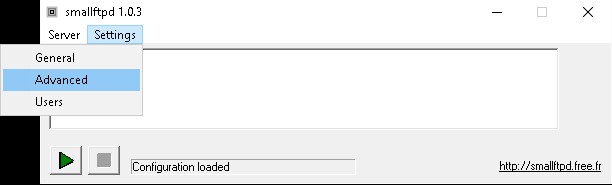
8. Click the box next to, "Use local IP" and click, "OK"
 ->
->
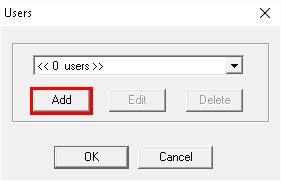
9. Click, "Settings" and then, "Users"

10. Click, "Add"
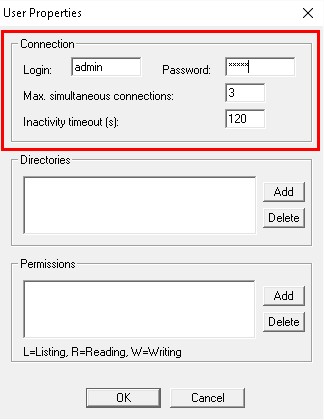
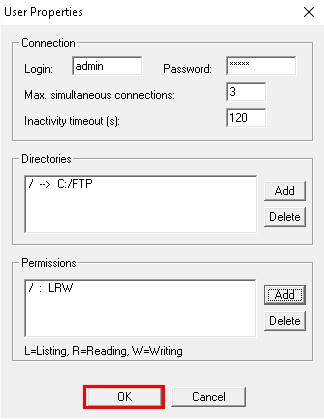
11. Input the following:
Login: admin
Password: admin
Max. simultaneous connections:3-100
Inactivity timeout(s): 999
12. Under Directories click, "Add"
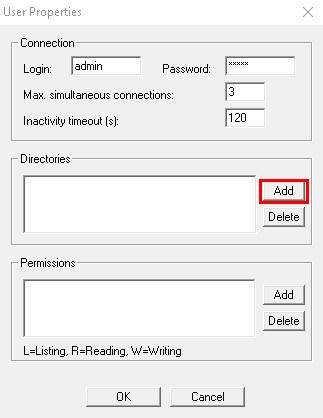
13. Leave Virtual Path set to, "/" and set the Physical path to, "C:/FTP" and click, "OK"

14. Under Permissions click, "Add"

15. Leave Virtual Path set to, "/" and set the Permissions to, "LRW" and click, "OK"

16. Click, "OK" to exit the User Properties.
17. Click, "OK" to exit the User Menu.

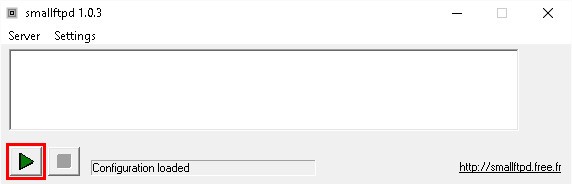
18. Click the, "Play" button to start the FTP server.
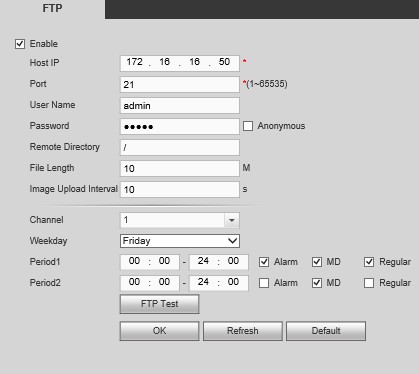
19A. For a NVR or DVR, go to Main Menu-> Settings -> Network -> FTP, and input the following: NVR or DVR
Host IP: (Your PC's IP address)
Port: 21 or the port you setup earlier in SmallFTPD
User Name: admin
Password: admin
Remote Directory: /
File Length: 10-512
Image Upload Interval: 10-60
Channel: (any)
Period: (any)
19B. For an IP Camera, login to the IP Camera via web browser and navigate to, Setup-> Storage -> Destination -> FTP, and input the following:
IP Camera
Server Address:(Your PC's IP address)
Port: 21 or the port you setup earlier in SmallFTPD
User Name: admin
Password: admin
Remote Directory: /

Once complete click, "Save" or "OK"
20. Once complete, check the SmallFTPD and the "C:/FTP" folder. They should look like the below images:
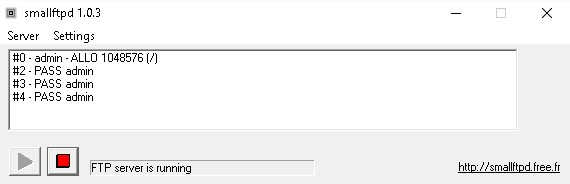 and
and 