How to Configure Video Settings of IP Camera
IPC/Camera Configuration
Encode Settings
Overview
Understanding the Condition Settings
Some of these settings are better left alone in order to keep a consistent image quality; Brightness Contrast, Saturation, Sharpness, and Gamma. Using a monitor calibration tool can help offset the native settings that might give you mixed results with the monitor you are viewing on if you want the optimal image quality. Try using the settings at the bottom of the page first before altering the cameras standard settings.
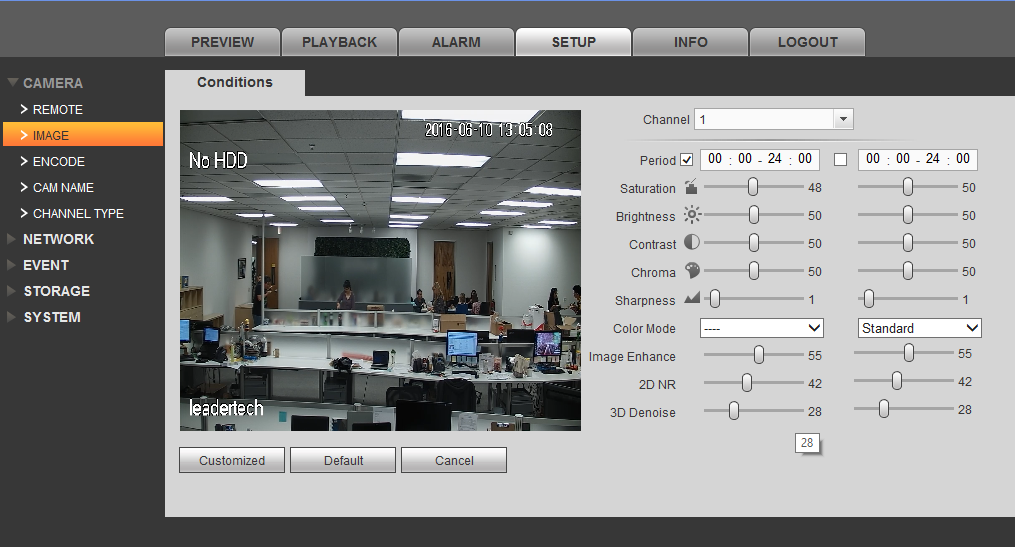
In order to get the optimal use out of your IP camera(s) first review and understand the following areas:
Brightness
Makes the video feed brighter or darker. Use this when the whole picture is dark, or bright. Make sure the other lighting settings are where they are supposed to be before setting the brightness higher or lower.
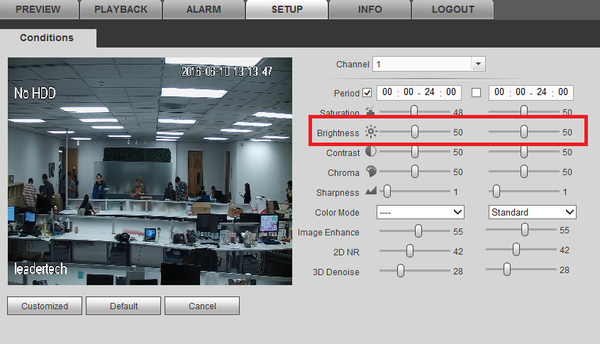
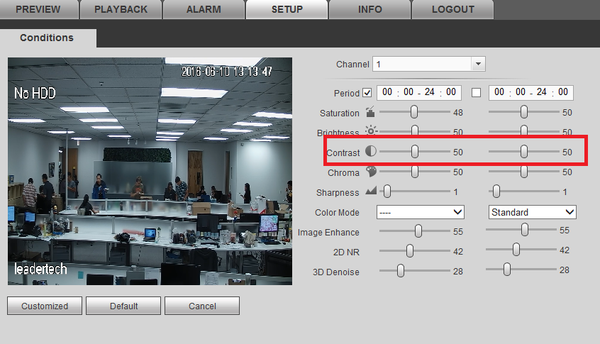
Contrast
Difference in luminescence or color that makes an object distinguishable, this varies from blending to separating hue.
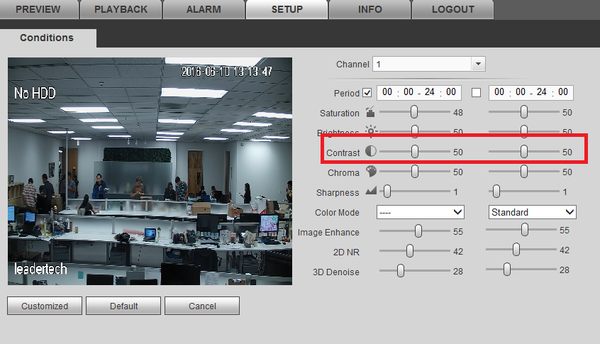
Saturation
Difference in black and white to full color. This can cause issues when compressing an image since it takes more information to process colors.Also if the picture is over-saturated then it will also cause blurry or artifacting pixels which will cause less compression in the image to occur.
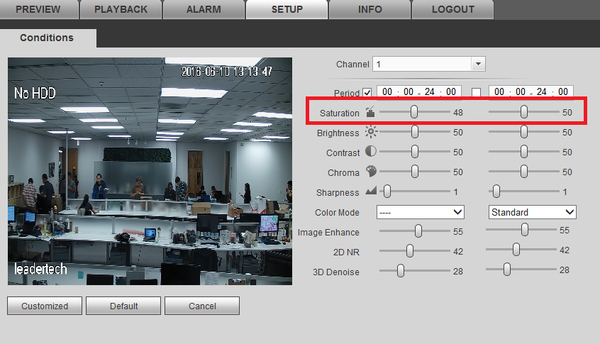
Sharpness
The edge contrast among its surroundings, this can blur or define details in an image. The sharper the image the more noise it will create in a moving image. This causes the compression to render more of the image which results in a larger bit stream and saved file size.
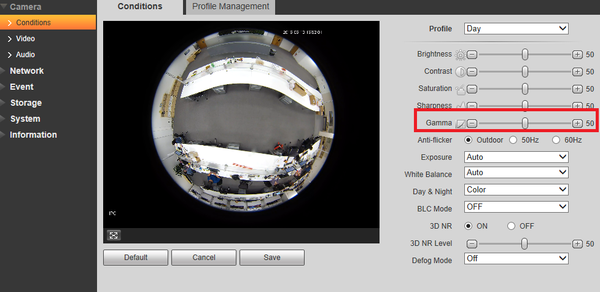
Gamma
A nonlinear lighting adjustment used to eliminate blinding whites and absolute dark areas. Think of this like brightness with contrast included, and use it to accent darker areas as a fine adjustment.
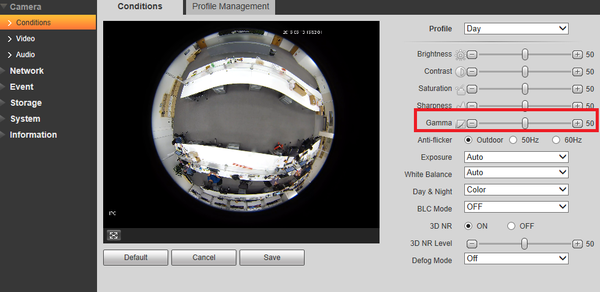
Anti-Flicker
Used for lights (mostly florescent lights) to sync up the rate at which they pulse. This is used if you see indoor lights flickering on the camera
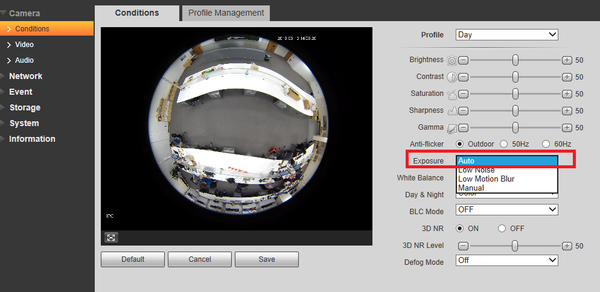
Exposure
- Auto - this will automatically adjust the exposure time and the gain (aka ISO) for the average lighting setting in the area.
- Low Noise - This setting will maximize the gain for the ideal exposure. Low Noise Basically turns up the ISO to the best setting without sacrificing exposure timing.
- Low Motion Blur - This setting will maximize the fastest shutter speed, and will sacrifice the gain in return.
- Manual - This setting lets you select your shutter speed and have the gain adjust automatically. Selecting customized range will let you both the shutter speed an adjust the gain manually.
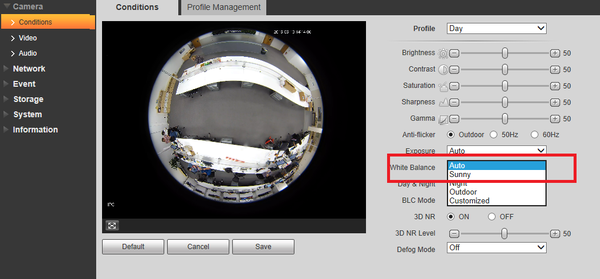
White Balance
The process of removing unrealistic color casts. It is an adjustment so white colors seem white in certain warm or cool lighted areas:
- Auto: adjusts for the best setting of the whole picture.
- Sunny: adjusts for very bright environments like a sun lit area.
- Night: adjusts for a darker environment
- Outdoor: adjusts for outdoor lighting settings
- Customized: lets you balance out the blue and red color yourself
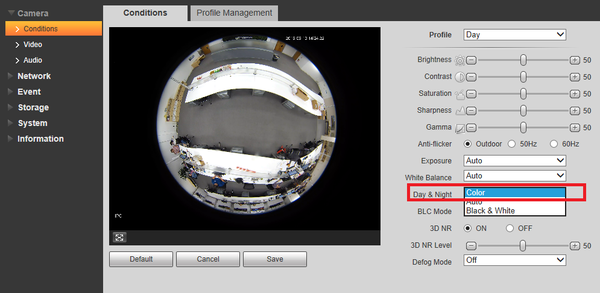
Day and Night
Used to determine when black and white mode is turned on in a dark environment.
- Color: always represents picture in color, does not use IR or black and white mode. Performs poorly in dimly lit areas unless you are using the Starlight series cameras.
- Auto - Uses D&N Sensitivity setting to change between color mode and infrared
and black and white mode.
- Black & White - Always sets picture to black and white, however when
illumination is too dark it switches on IR mode.
If you selected Auto in the above setting you will see:
D&N Sensitivity
- Low, Middle, and High modes are light thresholds to change Day and Night settings automatically.
D&N Delay
The delay in seconds (2-10) when lighting conditions change for Day and Night.
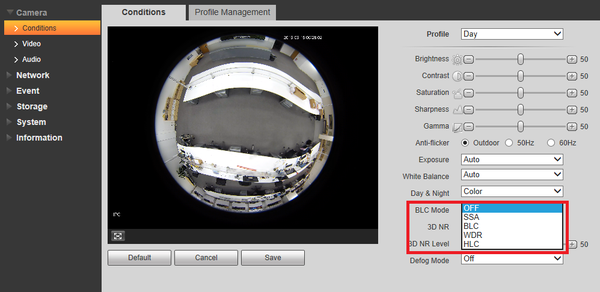
BLC Mode
Backlight compensation is a feature that camera companies have been utilizing for some time now. To read more about BLC modes http://www.imaxcampro.com/Troubleshoot/What_Is_WDR_AWB_AGC_BLC_HLC
- OFF: BLC render mode is off
- BLC: backlight compensation: Default will use the whole image to balance the lighting settings, and Customized will allow you to balance the lighting settings from the target area.
- WDR: Wide Dynamic Range makes multiple scans of a scene to provide one balanced and unwashed image that is clear for the user.
- HLC:Highlight compensation is a feature that came out of necessity due to overexposure from strong light sources like headlights or spotlights.
- SSA: automatically lowers the brightness of bright area and increases the brightness of dark area according to the environmental lighting.
Mirror
- Mirrors image on the vertical axis
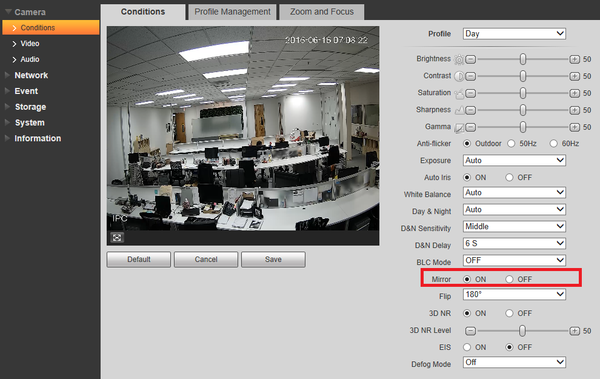
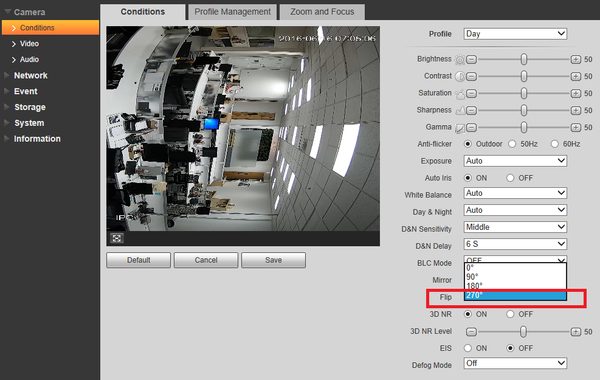
Flip
- Flips the screen clockwise, 90, 180, or 270 degrees
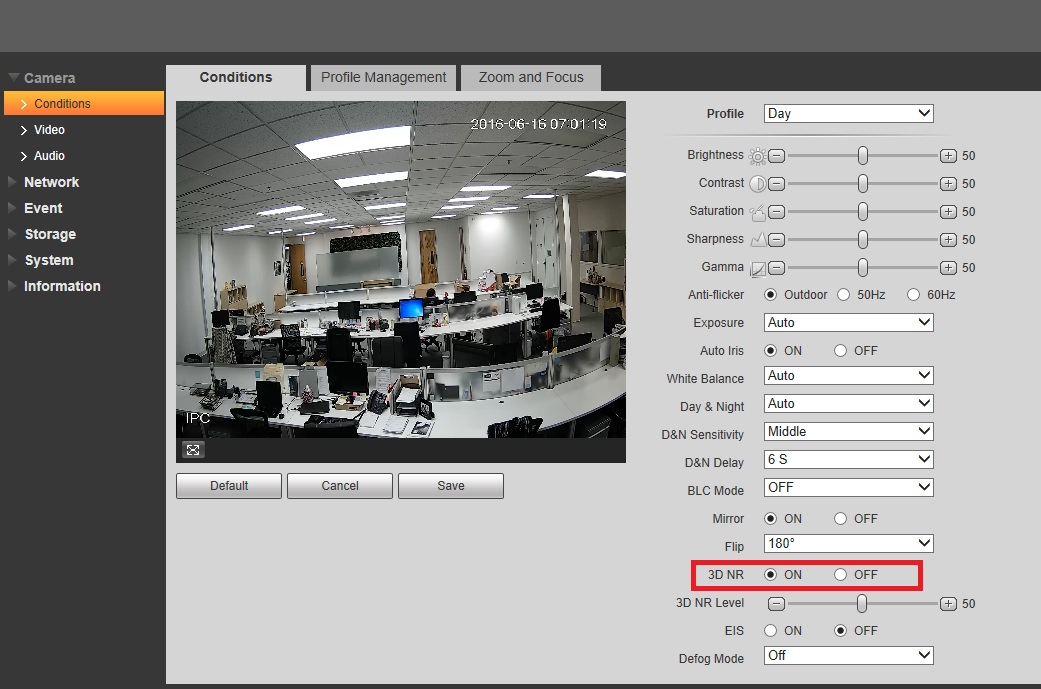
3D NR
This threshold is mainly for multi-frame (at least 2) image processing. It reduces noise with info between a frame and previous frame. The higher the value, the better NR will be. NR level ranges from 0 to 100. The recommended value to from 40 to 60 where the default value is 50.
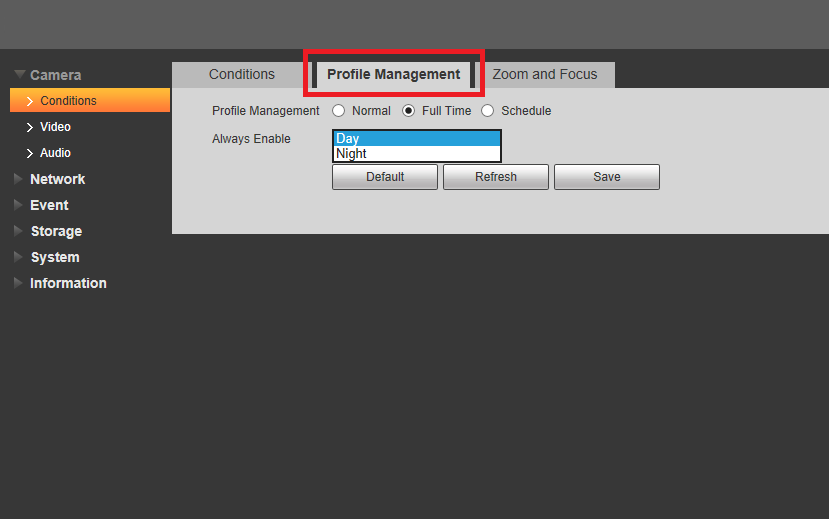
Profile Management tab
- Normal which applies the day and night settings automatically
- Full time which lets you choose day or night time.
- Schedule which you can set day and night on the camera by time.
OSD Camera Settings on PTZ's
You can access the PTZ's on screen display menu by clicking menu in the web 3.0 browser, or in live view on the NVR or HCVR. The settings are as follows:
Select the CAMERA SETTING area of the menu:
WB Setting
The process of removing unrealistic color casts. It is an adjustment so white colors seem white in certain warm or cool lighted areas:
- Auto: adjusts for the best setting of the whole picture.
- Manual: Manually adjust the R Gain and B Gain
- ATW: Auto Tracing White Balance
- Outdoor: adjusts for outdoor lighting settings
- Indoor: adjust for indoor lighting
- Outdoor Auto: adjust for outdoor lighting automatically
- NA Lamp Auto: This setting is for automatically adjusting to an auxiliary lamp
- NA Lamp: This setting is for an auxiliary lamp
Exposure Setting
- Auto Exposure Modes:
*Auto: The best iris and shutter combination *Manual: Shutter and Iris to be set manually *Iris Priority: Prioritizes the iris setting (aka F Stop) and automatically adjust the shutter *Shutter Priority: Prioritizes the shutter setting (aka F Stop) and automatically adjust the iris- Shutter: Time in seconds it takes for an exposure
- Iris Setting: a scale of 1-18 for the aperture
- Exposure Compensation: Compensates for under or over exposed picture
- Slow Auto Exposure: Sets auto to expose the slowest, mostly for night time
- BLC: back light compensation mode
- Slow Shutter: turns on the lower limit for the shutter
- Slow Shutter Limit: Setting for the slowest shutter speed desired
- AGC Gain Limit: Sets the limit on auto gain
- NR: Brighter picture with less noise only 2 dimensional
- Camera 3D NR: Brightens picture with less noise rendering 3 dimensions
- High Light Reduction: Reduces bright spaces
- AE Recovery: a period of time after which the camera’s exposure will reset
- WDR Setting: Turns wide dynamic range on or off
Day / Night Setting
- Day / Night:
*Light: Lighted area *Night: Night mode with IR *Day: Outdoor day mode *Auto: Auto adjusts *Time: Set timer to switch modes- Type: Mechanism uses a light sensor,
*Electron:Day / night switch-over is determined by camera software. This is recommended if the camera switches its viewing mode at around the same time every day (for example, sunset or sunrise in an outdoor location). *Day / night switch-over is determined by a light filter. This is recommended if the camera is in a location with fluctuating light conditions (for example, indoors with lights turning on and off throughout the day).Focus Setting
- Focus Mode:
*Auto: The camera automatically adjusts the focus after it performs a Pan-TiltZoom function *Manual: The camera must be manually put into focus using the DVR menu. *Semi Auto: The camera automatically adjusts the focus after Zoom functions only- Focus Limit: a focus limit of 1M means that the camera will focus on objects
further than a meter away
- Auto Focus Sensitivity: Low, normal, or high sensitivity to focusing
- Auto Focus Trace: Focuses around the image until a focal point is found
- IR Correction: Corrects for bright IR light causing focusing problems
Image Adjust
- Hue:
- Saturation:
- Chromaic Suppress:
- Gamma:


