
How to Setup Customer Screen View
SmartPSS/How to Setup Custom Screen View
How To Setup A Custom Screen View In SmartPSS
Description
This article will show you how to setup a custom screen view in SmartPSS 2.0
Prerequisites
- SmartPSS
- Devices added to SmartPSS Device List - How To Add Device to SmartPSS
Video Instructions
Step by Step Instructions
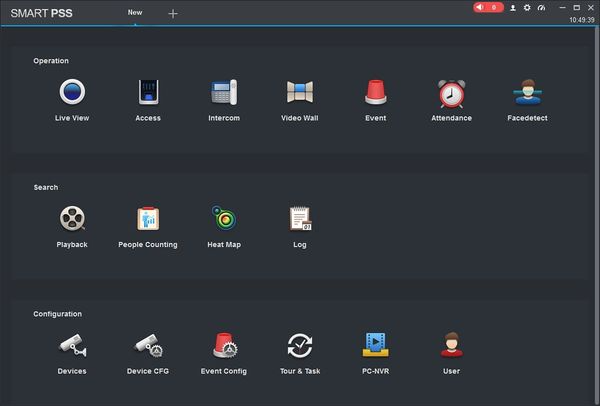
1. Launch SmartPSS.
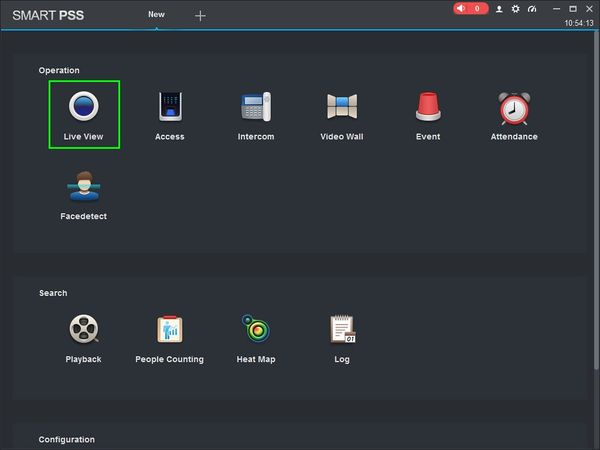
2. Click 'Live View'
3. The device tree on the left will show all devices added to SmartPSS.

4. Use the Layout Options in the bottom right of the screen to adjust the Live View to 2X2, 3x3, 4x4, or create your own custom layout

5. Click on a device then drag and drop to a tile in the center of the screen to load the stream in a window.

Continue to arrange the layout as desired by dragging and dropping other devices from the device tree.

6. Click the Save icon ![]() to save the current layout
to save the current layout
7. The Save View window will appear
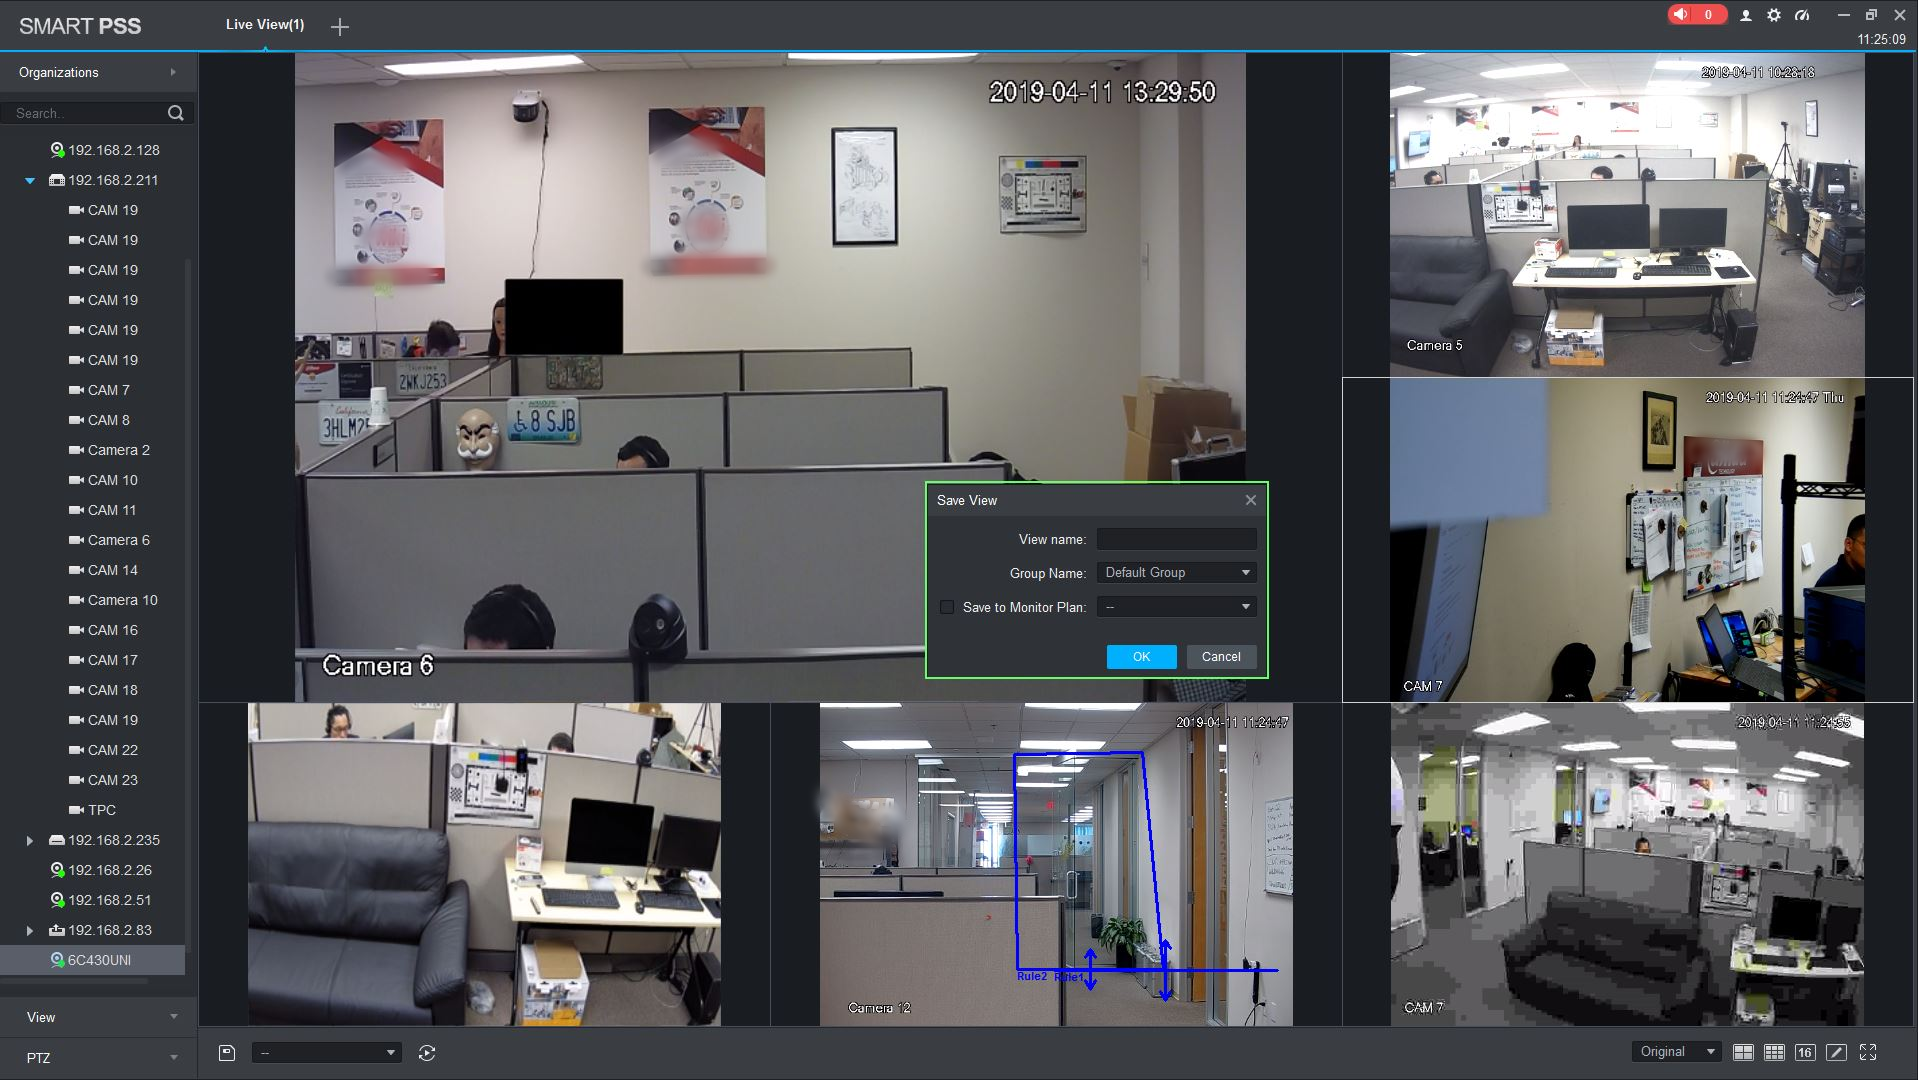
Click OK to save the view
8. To select from created Custom View Screens click View on the left side of the screen
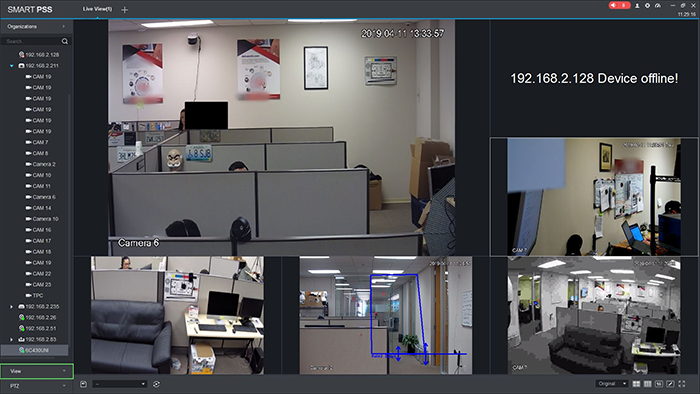
9. Custom screen views that have been created will appear on the left side of the screen

Double Click the View Name and the custom view will display
10. To edit any created custom screen views, right click the view in the list
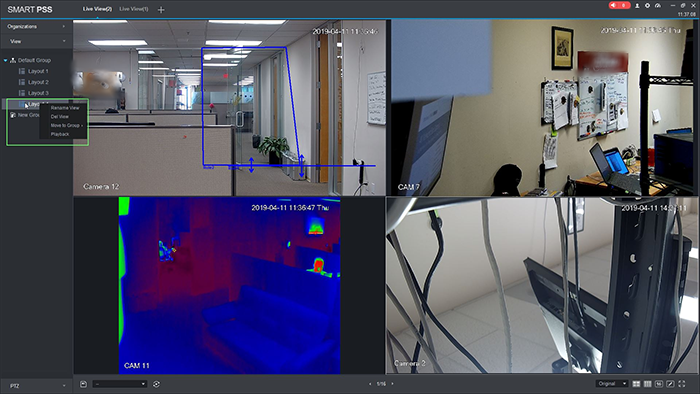
You can rename, delete, move between groups, or begin playback using this submenu